
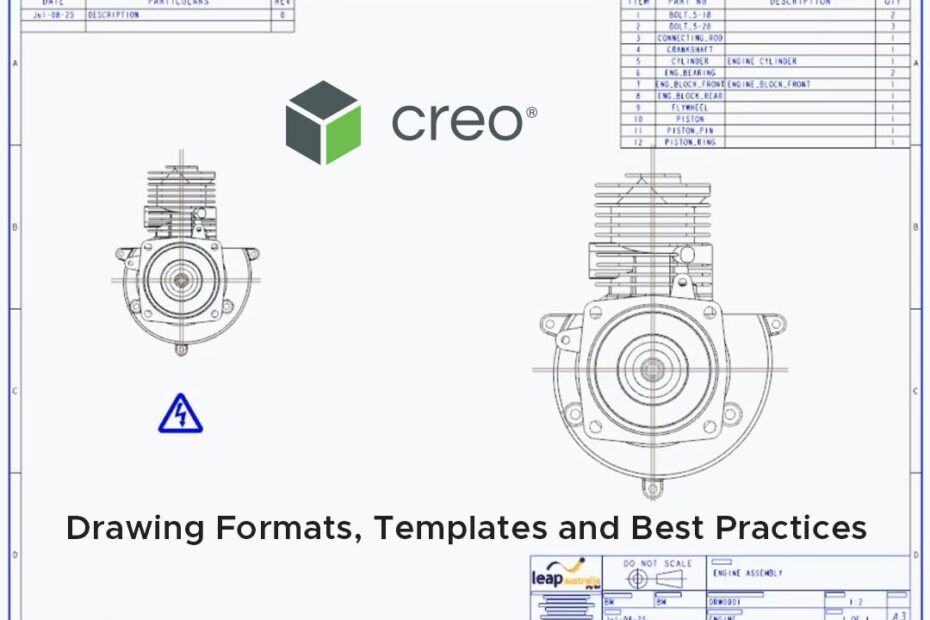
In this post we show you how to set your team up for success with standardised drawing templates and formats in Creo. As part of our Creo Best-Practices webinar series, Ben Muston, Senior Application Engineer at LEAP recently tackled drawing formats and templates, covering title blocks, custom symbols, revision tables, repeat regions, and how to drive consistency across 2D and MBD-enabled drawings for efficient documentation processes.
Ben kicks things off by giving an overview of the key concepts and use cases for different drawing formats and explains how design information can be passed through into templates and title blocks automatically.
Next, Ben opens up a format file inside Creo and demonstrates how the file is typically structured, how to use tables to layout your data and the different ways in which you can populate them with key design information. He then walks through the process of setting up a template, how to use the Drawing Options to set your preferred units (or even import a .dtl to set the whole template to Australian Standard), and how to load in a drawing to give you access to all of the information contained within.
Ben goes on to discuss some of the more advanced functionality available in Creo when working with tables, including parametric vs static content, repeat region and BOM tables and harnessing the power of MDB to drive 2D from 3D.
To finish, Ben gives another live demonstration within Creo, this time explaining how to define, create and use symbols and how to set up and populate a BOM table. Finally he creates a 2D family table and populates it with existing part data that then propagates into the 2D drawing.
We trust you found this information helpful. For more Creo Best Practices articles, or to request specific topics that you would like us to cover in the future, visit our website.
In the meantime, if you require any assistance with your modelling or just have a question about Creo, please reach out to the LEAP PTC team.