
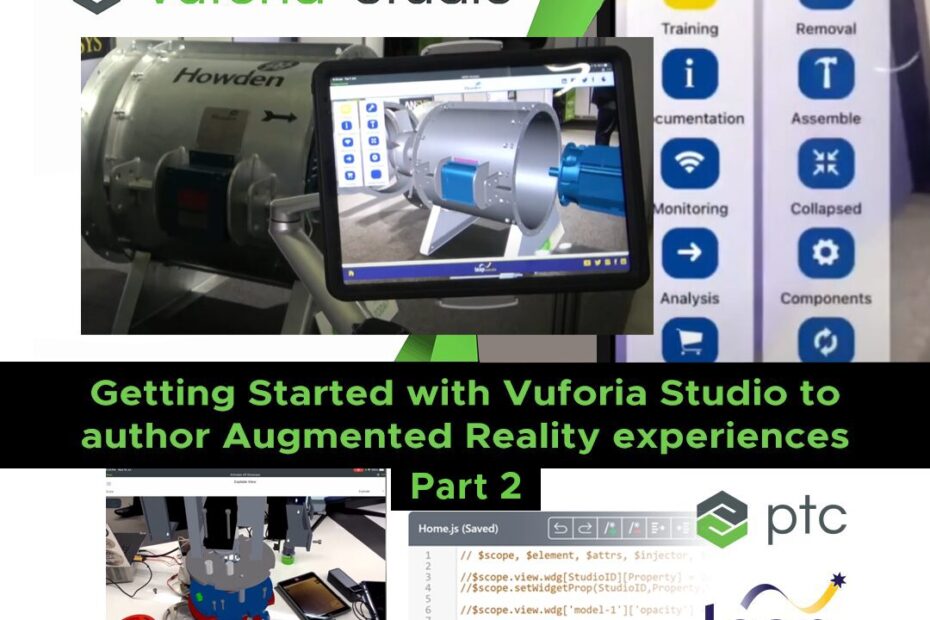
Today, we will continue with a newly added set of essential video tutorials that walk you through the process of authoring AR experiences and how to implement particular AR techniques and UI elements using Vuforia Studio. In part one we delved into the basics of Vuforia, exploring its capabilities and setting the foundation for creating engaging augmented reality experiences. Today, we will continue our journey with a summary of essential video tutorials that walk you through the process of authoring AR experiences using Vuforia Studio.
This first tutorial covers how to more easily create animations of your 3D models and seamlessly bring them in to your augmented reality experiences, using Creo Illustrate combined with Vuforia Studio. The video covers several key topics, including importing your 3D models into Creo Illustrate, creating animation steps and sequences and incorporating basic animations such as flashing and moving. Additionally, we will explore the process of exporting these animations to PVZ format and then importing them into Vuforia Studio, where we will demonstrate how to play a basic sequence using drag and drop bindings.
The next tutorial explains how to effectively create and navigate a 2D canvas for augmented reality experiences in Vuforia Studio. The video guides you through the process of opening the 2D canvas, using containers to compose and add structure to your 2D user interface and styling elements with CSS for a polished look. Additionally, we we demonstrate how to bind buttons and images to animated models, enhancing interactivity within your AR projects.
The next tutorial covers how to craft precise exploded view animations in Creo Illustrate that can be imported into Vuforia Studio. The video demonstrates how to manually animate exploded views by recording transformations of individual parts and how to reverse animation steps for added flexibility. Additionally, we share valuable tips and tricks for effectively implementing your exploded animations in Vuforia Studio, ensuring a seamless and engaging experience for users.
Bindings in Vuforia Studio can be controlled using JavaScript to enhance the smoothness and seamlessness of augmented reality experiences. The next tutorial guides you through navigating to the JavaScript editor, binding JavaScript functions to widgets such as buttons and understanding application parameters, including how to create them. We demonstrate how to control these application parameters using JavaScript and provide tips on finding widget properties. Additionally, the tutorial includes example use cases for advanced bindings, illustrating their potential to elevate your AR projects.
Integrating Internet of Things (IoT) data from Thingworx into Vuforia Studio enables digital twin connectivity that bridges your augmented reality experiences with the real world. The next tutorial explains how to utilise the data panel to manage external data from Thingworx, demonstrating how to bind ‘Things’ from Thingworx to various widgets to connect them seamlessly with IoT data. The tutorial also covers the use of filters with bindings to format your data, ensuring it aligns perfectly with your desired AR experience.
In AR, occlusion refers to the technique used to simulate depth and realism by blocking or hiding virtual objects behind real-world objects. This effect enhances the viewer’s perception of spatial relationships, making the virtual content appear as if it is genuinely interacting with the physical environment.
The final tutorial in this second instalment of the series explores the concept of occlusion, discussing its relevance and importance in enriching augmented reality experiences. We provide insights on how to effectively configure your models to utilise occlusion, ensuring that virtual objects interact realistically with the physical environment. We also share helpful tips for achieving optimal occlusion performance and highlight examples of what to look for when testing occlusion using Vuforia View, enabling you to enhance the immersive quality of your AR projects.
This wraps up part two of our series on getting started with Vuforia Studio. Stay tuned for more videos in our series, as we dive deeper into Vuforia Studio and learn even more advanced techniques that aim to help elevate your AR experiences further. You can also find all of LEAP’s Vuforia Studio videos in the playlist below: